You want to decorate your own canvas tote bag but aren’t sure where to start, what paint to use, how to prepare the surface, or which method gives the best result without damaging the fabric.
Don’t worry. In this guide, we’ll go through everything step by step, from choosing the right paint and tools to exploring creative decoration techniques, helping you turn a plain tote into a beautiful, personalized piece you’ll love to carry.
1. What paint to use on canvas tote bags?
Choosing the right paint is essential when decorating a canvas tote bag. Canvas is thick and absorbent, so using the wrong paint can cause cracking or fading after washing. The right paint ensures color vibrancy and long-lasting results.
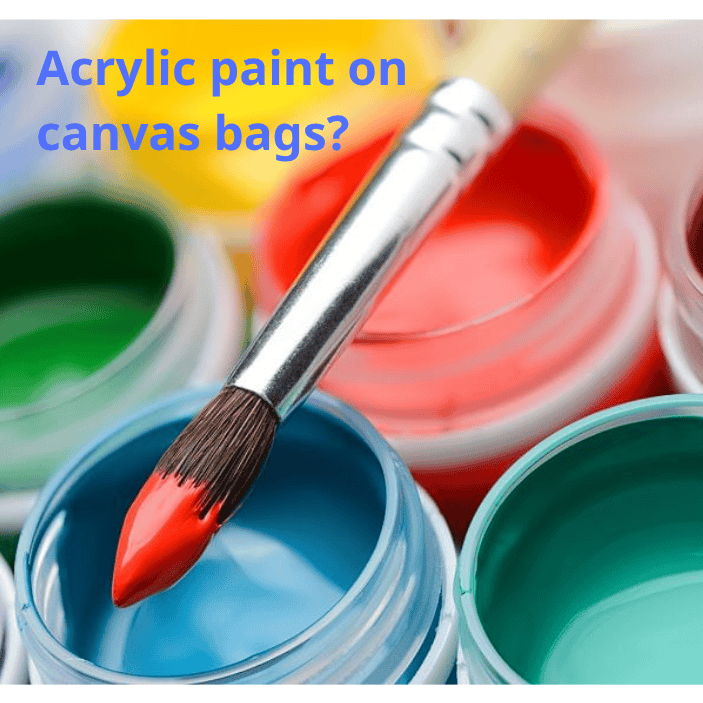
1.1 Acrylic paint
Acrylic paint is the top option for most DIY projects. It’s water-based, bright, and quick-drying, creating a durable layer once cured. To keep the fabric soft and prevent cracking, mix the paint with a fabric medium before applying. This helps the color bond with the fibers and remain flexible after washing.
Acrylic paint is ideal for beginners and casual artists. Apply several thin layers for even coverage and a smooth finish.
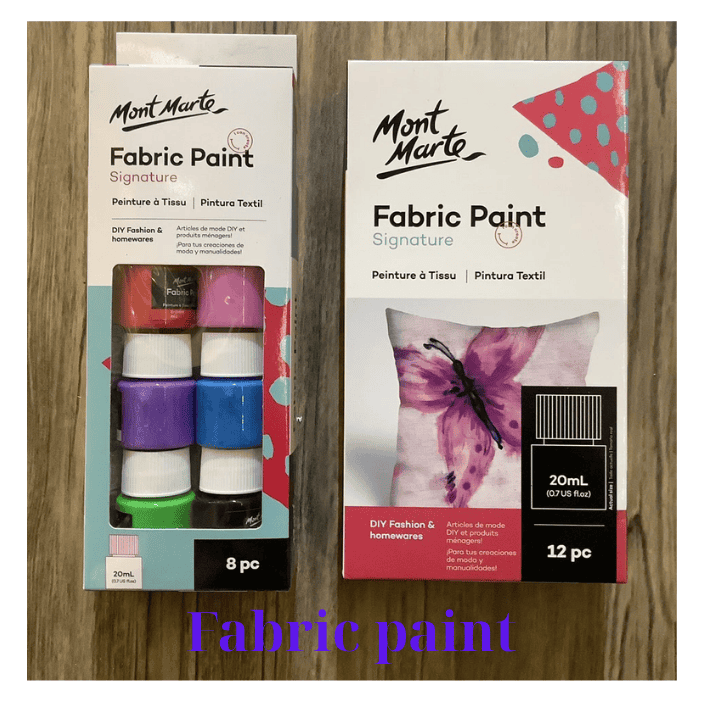
1.2 Fabric paint
Fabric paint is specially made for cloth, staying soft and flexible even after multiple washes. Once heat-set with an iron, it fuses into the fabric and becomes waterproof. It’s the best choice for tote bags that will be used often or need frequent cleaning.
1.3 Other paint options
- Oil Paint: Creates rich, glossy tones but dries slowly and can stiffen the fabric.
- Watercolor Paint: Works for light, artistic effects but fades easily.
- Fabric Spray Paint: Great for stencil or ombré designs; choose a fabric-safe type to avoid flaking.
Paint affects not just appearance but also comfort and durability. Acrylic and fabric paints adhere best to cotton canvas, keeping the bag soft and washable. With proper application and heat-setting, your design will stay bright and flexible for a long time.
2. How to paint on canvas tote bags
3.1 Preparation
- Choose the Right Tote: Pick a tote made from thick cotton or heavy canvas (12–16 oz). Dense fabric holds paint well and prevents it from bleeding through.
Avoid thin or stretchy fabrics like jersey or spandex, which can wrinkle or cause cracking once the paint dries. - Prepare the Surface: Wash and dry the tote before painting to remove dust, oils, or factory coatings. Then iron it flat to create a smooth surface. Insert a piece of cardboard or plastic sheet inside the bag to stop paint from seeping through. Use clips or masking tape to keep the surface flat and still.
- Tools You’ll Need: Acrylic or fabric paint, paintbrushes (flat for large areas, round for details), palette for mixing colors,water cup for rinsing brushes, paper towels or soft cloth, optional: stencils or tracing templates for beginners
3.2 Painting steps
- Sketch and apply the base layer: Lightly sketch your layout using a pencil. Beginners can use printed references or stencils to outline the shapes. Apply a thin, even base coat of light or neutral paint to help the following layers stick better. Let it dry completely before adding color.
- Paint large areas first: Start with the main shapes using a flat brush. Paint in the direction of the fabric weave for smoother strokes. Work in small sections to prevent the paint from drying too quickly. If you’re using a stencil, tape it securely and dab the paint with a dry sponge or brush instead of brushing side to side to avoid smudging.
- Add details: Once the base is dry, move on to smaller details with a fine brush. Build up thin layers rather than one thick coat – this gives better color depth and flexibility. For outlines or highlights, dilute the paint slightly and use a small liner brush after the main colors have dried.
How to paint on canvas tote bags step by step - Fix small mistakes: If you make an error while the paint is still wet, gently blot it with a damp cloth – do not rub. For dry mistakes, cover the area with the background color and repaint once it dries.
3.3 Drying and heat-setting
- Let It airdry: Place the tote on a flat surface in a well-ventilated area. Avoid direct sunlight or hair dryers. Let it dry for at least 24 hours before moving to the next step.
- Heat-set the paint: Once completely dry, cover the painted area with parchment paper or a cotton cloth. Iron on high heat (cotton setting) for 2–3 minutes per section to fuse the paint into the fabric fibers. This step makes the design more durable and washable.
- Aftercare: Wait about a week before washing the tote for the first time. Hand wash gently in cold water with mild soap, and avoid scrubbing the painted area. Turn the bag inside out before washing or ironing to protect the artwork.
Painting canvas totes with acrylic paint gives a personal touch, but it takes time, patience, and some skill. It’s not practical for large batches or production.
Next, let’s explore quicker and easier decoration methods that still look creative and stylish.
3. How to decorate canvas tote bags
Painting isn’t the only way to personalize a canvas tote. Here are four quicker and cleaner methods, each with its own unique benefits:
3.1 Heat transfer (Iron-on designs)
Heat transfer is one of the quickest and most reliable ways to decorate a tote bag. You can print a design on transfer paper or cut it from heat transfer vinyl (HTV), then use an iron or heat press to apply it to the fabric. This technique produces bright, detailed images with sharp edges that look professional and consistent.
It’s a great option for small businesses or workshops that want a polished look without hand-painting each bag. The main limitation is that it requires proper heat and pressure control; if done incorrectly, the design may peel over time. When applied correctly, however, the finish is durable, flexible, and long-lasting.
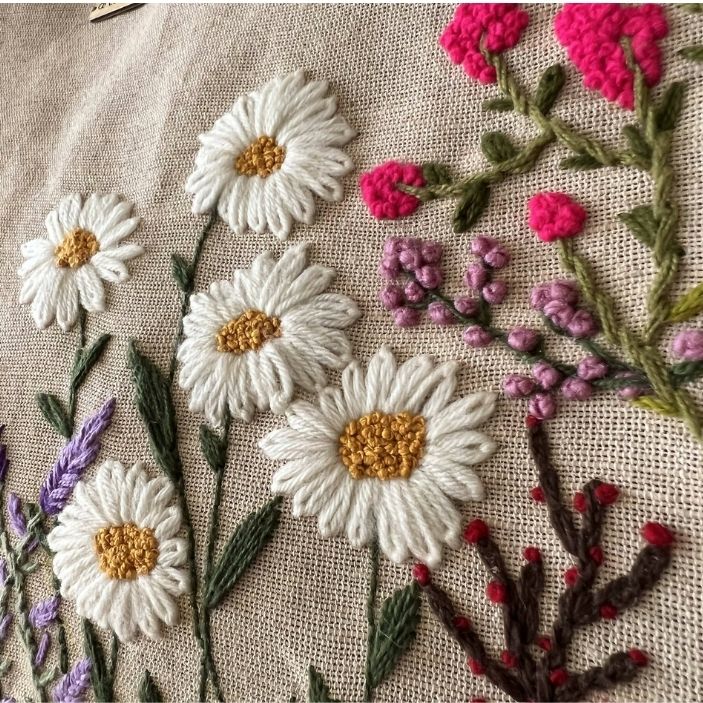
3.2 Embroidery
Embroidery adds a handcrafted and elegant touch to any tote. You can stitch small motifs, initials, or minimalist patterns using embroidery thread and a hoop to keep the fabric tight. The result has texture, depth, and a premium feel, making it suitable for boutique items or personalized gifts.
The process takes patience and precision, and it’s not the fastest method. Still, embroidery is one of the most durable forms of decoration since the stitches don’t crack or fade like paint or vinyl. It’s ideal for projects where you value craftsmanship and longevity.
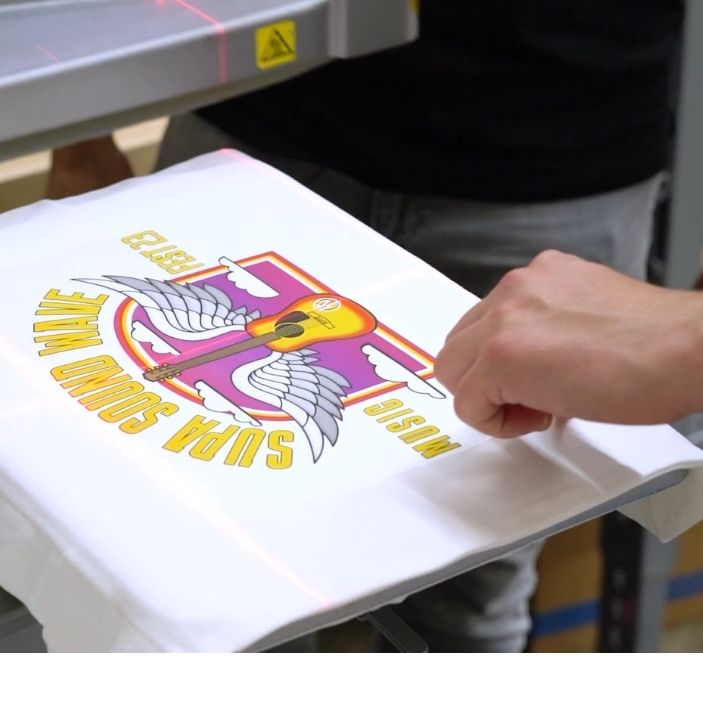
3.3 Screen printing
Screen printing is a professional method that gives bold, even color and exceptional durability. It involves using a mesh screen and stencil to press ink onto the fabric, layer by layer. Once the ink is heat-cured, it becomes part of the fabric and resists fading and washing.
This technique works best for larger quantities or uniform designs such as logos, brand graphics, or event merchandise. It delivers consistent, high-quality results but requires setup, equipment, and drying time, which makes it less suitable for single-piece projects.

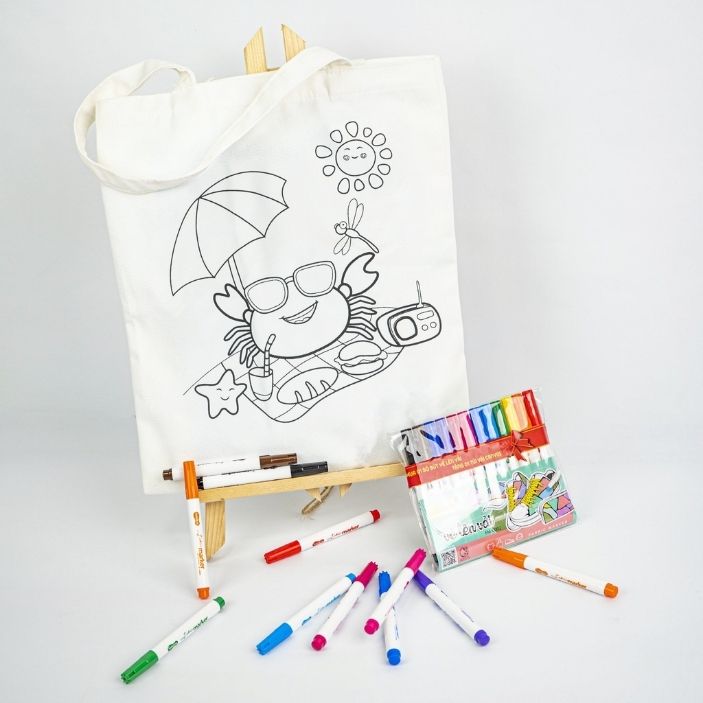
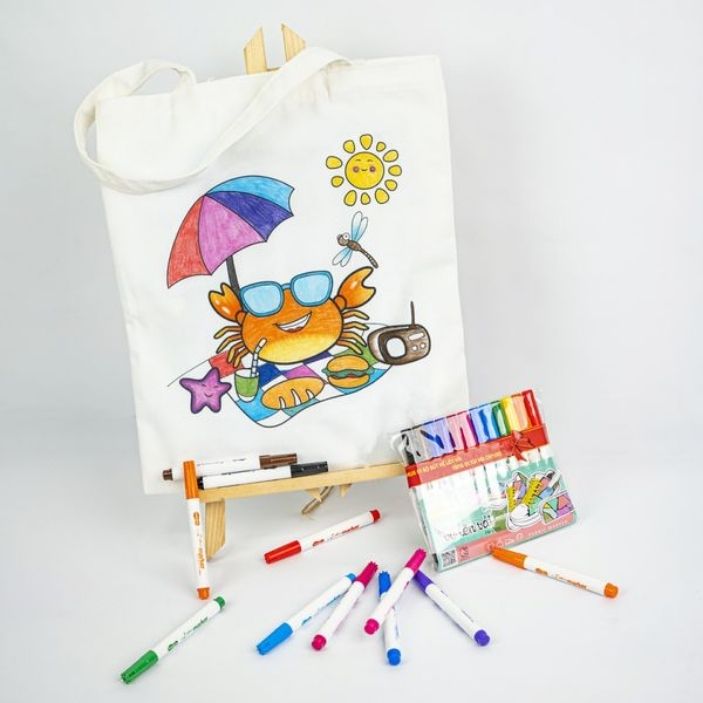
3.4 Fabric markers
Fabric markers are the simplest way to add quick, personal details to a tote bag. You can draw directly on the fabric and heat-set the color afterward. This method is easy, clean, and doesn’t require any special equipment, making it perfect for beginners, children, or casual DIY workshops.
While the colors from fabric markers may not be as vibrant or long-lasting as paint or print, they allow creative freedom and spontaneous designs. They’re best used for doodles, lettering, or decorative accents where precision and individuality matter more than durability.
Conclusion:
We’ve covered all the key ways to paint and decorate canvas tote bags – from hand-painting and embroidery to printing and iron-on designs. Each technique offers a different balance between creativity, durability, and convenience.
Take your time to choose the method that best matches your style, skill level, and purpose. Whether you’re crafting a one-of-a-kind gift or designing a small batch for sale, may your tote turn out exactly the way you imagined it.